


Content Type MD [mark-down]
Introduction
Hello, my name’s Simon, and I work in the sales department at Studfast. My position is engineering sales, and my role and duties include speaking to customers, you know, ascertaining their problems on their projects. What’s going to be right for them? General problem solving is my role. My name’s Philip. I’ve been working for Studfast for 33 years. Employed as a sales executive, I’m kind of front of house, so I’m looking after customers on a daily basis, processing orders, giving technical advice, purchasing purchase order planning and being well. We work very well together.
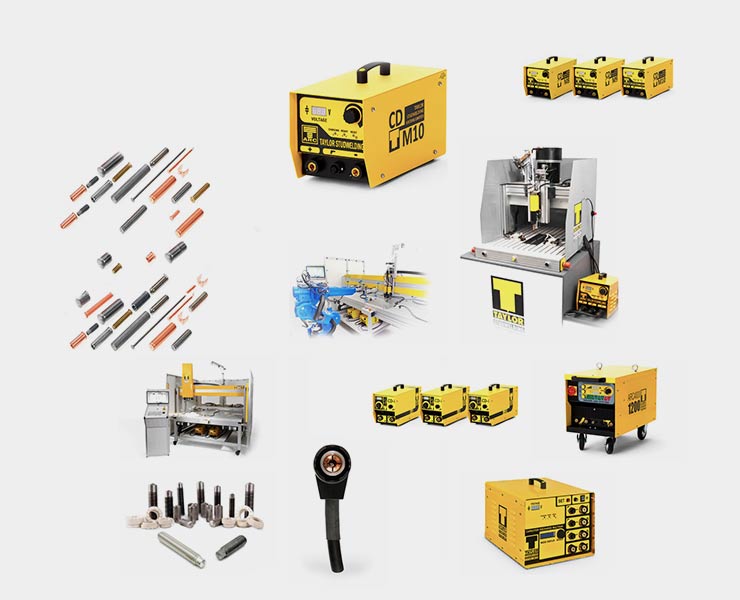
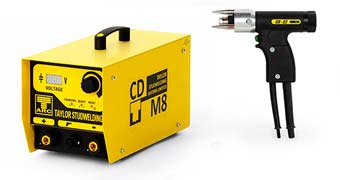
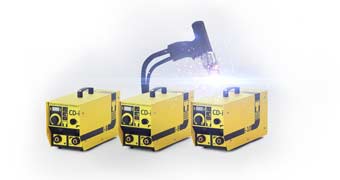
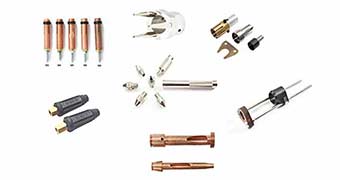
So why would you use Studfast, we are a well-established company within the stud-welding industry? We provide good quality equipment, high quality product on the side, technical advice. We provide the whole package. Orders are dispatched the same day as they’re received. Our motto is our studs, our machine, our problem. Our customers can come from many different fields, different industries with very different jobs and projects that we basically work with them to work out what we can provide them from start to finish. Our customers are happy with what we’ve supplied them on their project. What are you covering today, Simon. Today, we’ll be demonstrating a type of disruptive test. So this is a Bending bar and what we have here is a few different nozzles. This isn’t the total range of nozzles you can have from 2.5 up to whatever you test testing so you can have these on. You can even have these on shear studs, et cetera. Visual tests complete. You can now submit your weld it studs to a physical test, and one of these physical tests is carried out by abandoned by like this.
Lets begin
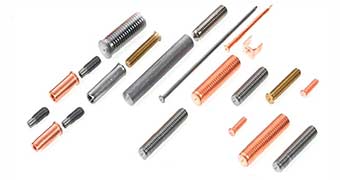
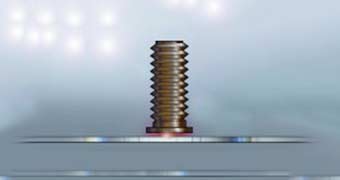
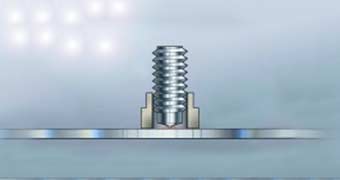
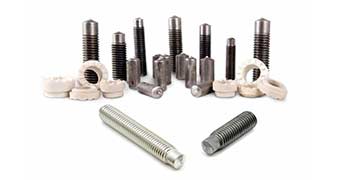
So here we have a standard bending bar, which you can purchase for myself. There we go. And then you screw into the end. You’re required diameter. So whatever diameter of studs you are welding, you screw in the, you know, the correct nozzle and it’s a destructive test. So here we have some welded aluminum M4 studs and so we can see Visual test going by the parameters that we mentioned before in the previous video. Visual tests are good. However, on this test test piece of metal that’s not been submitted for a production as it is a destructive test, so it should be done on your test piece. And once you’ve got all your set up, you know you’re right voltages the right environment for your welding is an m-4 aluminum stud. You can see here I have I’ve screwed on the four mill formal nozzle into the end of the bending bar. You slide the nozzle over the stuff that you test in that all the way over and then bend it over to Elise 30 degrees for a good test. So as you can see, I pull it off like that, and this third is bent over to around 60 degrees there. So what that tells us is you’ve got a successful weld because what we shouldn’t be seeing, we should be seeing the stuff failing along the length of the stud, not anywhere near the weld. OK, and then once you have got this all set up and you’ve tested a stud, you should now be seeing consistency. So you should be getting successful wells like this one. If the setup is not changed, you’re not changing any variables that should be set now for your project. OK, so bend over about 60 degrees. And you can see this is a successful weld, but I’ll take it to even to where the search fails. Here we go. So we can see the successful weld here because the stud has failed along the length of the stud. Not not where the weld is. The bond formed between the parent material and the stud is now stronger than the parent material itself. So you shouldn’t be seeing any failures around the world when doing this fail is along the length of the stud. Like this one? Or on thin sheets of metal. You’ll be pulling out a slug of the material, so you’ll be pulling out the hole, the stood and a piece of the material because the weld won’t fail, it will be. It will be the thinner metal that will fail before your welders. And remember, this is a destructive test. So it’s done on test pieces, not the pieces that are going out to your customer or for your job. Why do we use a bending bar? Bending bar is used after you’ve done your visual checks and you own your test piece. So before you set it up to your job, what are working on the bit that’s going up to the customer with that’s going to be on the. The finished job. Once you get and you set up right. You get things right. You’re making sure the Earth is right and then you’re doing your visual test. You you put some studs onto your test piece.
- visual test
- bending bar
- feactre three
You do you carry out your visual test, like we’ve mentioned in another video. And just to make sure you’ve got your weld that strong enough and you’ve got just to make sure you’ve got all your settings right, basically, just ensure you’ve got successful welds. Well, there are several methods of testing Welch. That’s what we’re trying to identify is not a good weld, but a bad weld, as Simon said earlier. The strongest part of the stood weld is the mixing of the two materials. So if you have a very thin sheet piece of metal and you test it with the bending bar as Simon’s exhibited, you will pull a slug. You could equally hit it with a big hammer. But it’s not very technical. So the bending bar is an ideal method of destructive testing going on to non-destructive testing, which is when you want to go on to your job. Because some customers would wish to test every single stirred, you could use a torque wrench. And there are torque wrench settings available on our website, and it is much more closely controlled rather than bending or cranking it with a big hammer. What can go wrong when you’re welding using a bending bar? Well, you’re not just testing the weld, you’re deforming the stirred. So the stirred cannot be used after you’ve tested it with a bending bar. Because the thread has now become deformed, you won’t be able to put a nut on it. To sum up what Phil said, do not use the bend in bar test on the pits that you’re going to be sending out to your customer or the bits that you, you know it’s going to be going out for your projects. This is purely for the testing part as it is a destructive test. There will be another video where we talk about non-destructive tests, including the torque bar we just lightly touched upon. Do you seeing this on YouTube or facebook? Head over to WWW.studfast-studwelding.com, where we’ll have a host of other videos just like this one. Nice and informative, and we look forward to hearing from you.